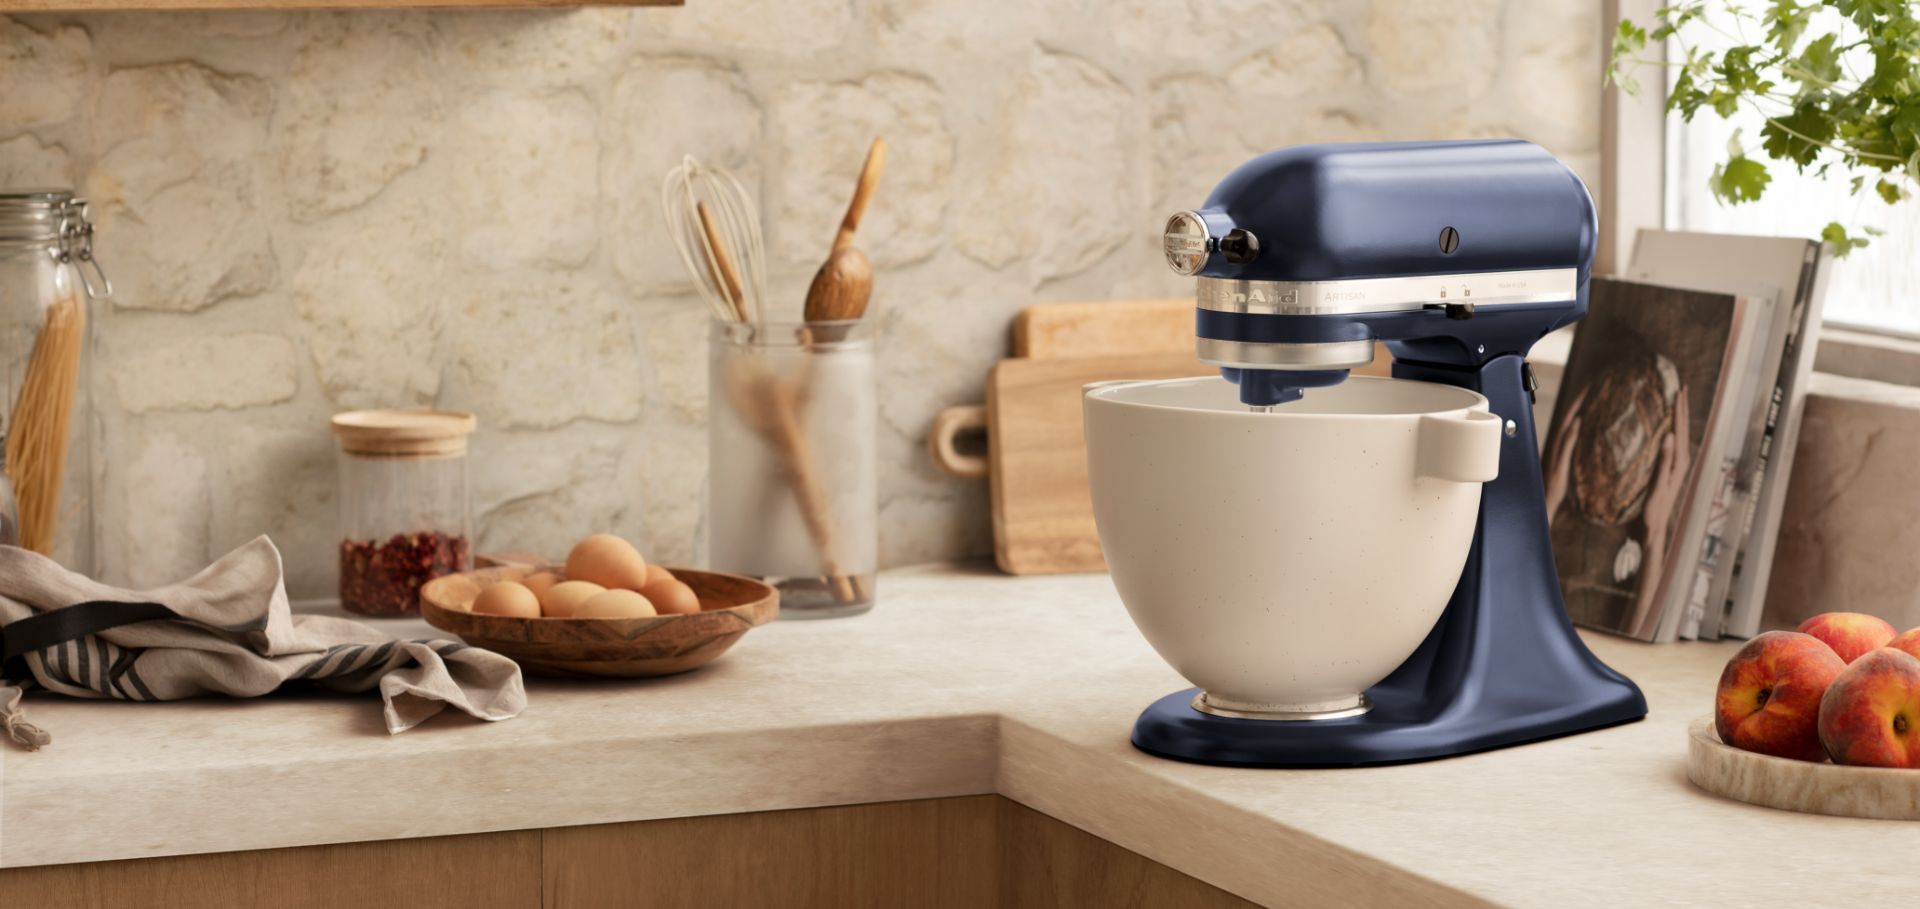
Wondering How to Fix Your KitchenAid Mixer? We've Got You Covered!
So, your trusty KitchenAid mixer has decided to throw a spanner in the works, and you're left wondering how to bring it back to its former glory. Fear not! Whether it's a jammed attachment or a motor that's given up the ghost, fixing your mixer is well within reach. In this comprehensive guide, we’ll walk you through the nitty-gritty of repairing common issues with your KitchenAid mixer. From identifying problems to executing DIY repairs, you'll soon have your appliance whirring along like a dream.
Getting Started with KitchenAid Mixer Repairs
Before diving into the repair process, it's important to get a grasp of the basics. With a little knowledge, you'll be equipped to handle most issues that might crop up with your KitchenAid mixer.
Understanding the Basics of Your KitchenAid Mixer
Your KitchenAid mixer is a marvel of engineering, designed to make your culinary endeavours as smooth as possible. At its heart, this mixer operates with a motor-driven mechanism that powers various attachments. These attachments serve different purposes, from kneading dough to whipping cream, providing you with versatility in your kitchen.
The control knobs on the mixer allow you to adjust the speed according to your needs, ensuring the perfect consistency for every recipe. Understanding these components not only helps in daily use but also aids in identifying potential problems. Whether you're part of the mixer family or just starting out, knowing how your appliance ticks is the first step in any repair process.
Safety Precautions Before Starting Repairs
Safety should be your top priority when embarking on any repair task. Before you even think about lifting a spanner, make sure to disconnect the mixer from the power source. This simple step can prevent electrical shocks and keep you out of harm's way.
Using insulated tools is another crucial safety measure. These tools help in reducing electrical hazards, especially when dealing with the mixer’s internal components. A clean and organised workspace is essential to avoid accidents, and wearing protective gear like gloves and goggles can shield you from mechanical injuries. Remember, safety isn't just a precaution—it's a necessity when dealing with your cordless range of KitchenAid mixers.
Common Issues with KitchenAid Mixers
Even the most reliable appliances can hit a snag now and then. KitchenAid mixers, renowned for their durability, are no exception.
Identifying Common Problems with Your KitchenAid Mixer
One of the frequent issues users face is a jammed attachment. This often occurs due to overloading or incorrect installation, causing the mixer to halt in its tracks. If your mixer starts making unusual noises or lacks power, a faulty motor might be to blame. Such symptoms can disrupt your baking plans and need prompt attention.
Loose or broken gears can lead to inconsistent mixing performance, making it hard to achieve the desired results in your culinary creations. And if your mixer refuses to start, electrical issues might be the culprit. By familiarising yourself with these common problems, you'll be better prepared to handle them when they arise.
Why DIY Repairs Can Save You Time and Money
Taking the DIY approach to repairing your KitchenAid mixer can be incredibly rewarding. Not only do you save on the costs associated with professional services, but you also gain valuable knowledge and skills. Fixing small appliances yourself allows you to respond quickly to issues, preventing further damage.
Tools Needed for DIY KitchenAid Mixer Repairs
Before you roll up your sleeves, ensure you have the right tools at your disposal. A well-equipped toolbox can make all the difference in a successful repair.
Essential Tools for Repairing Your KitchenAid Mixer
A set of screwdrivers is crucial for disassembling your mixer. Whether you're dealing with Phillips or flathead screws, having the right tool can save you a lot of hassle. Pliers are handy for handling smaller components and wires, especially when you need a precise grip.
When electrical faults are suspected, a multimeter is indispensable. This tool helps diagnose continuity and power supply issues, ensuring that your mixer is getting the juice it needs to run smoothly. And don't forget a torque wrench—this ensures bolts and screws are tightened just right, preventing any loose parts from causing trouble down the line.
Where to Purchase Quality Replacement Parts
Finding quality replacement parts for your KitchenAid mixer doesn't have to be a wild goose chase. Local appliance stores often stock genuine KitchenAid parts, providing you with the assurance of authenticity. Alternatively, online retailers offer a vast range of mixer components, often at competitive prices.
For peace of mind, consider purchasing from manufacturer websites. They guarantee authentic replacement parts that fit perfectly with your mixer model. Alternatively, Cattermole have a range of KitchenAid spares to help you - KitchenAid Spares and Parts.
Step-by-Step Guide to Repairing Your KitchenAid Mixer
Armed with your tools and replacement parts, it's time to get down to business. This step-by-step guide will walk you through the repair process, ensuring your mixer is back in action in no time.
Step 1: Diagnosing the Issue with Your Mixer
Diagnosing the problem is the first step in any repair. Start by listening carefully for any unusual noises during operation. A grinding or whining sound could indicate gear issues or a failing motor. Next, check the mixer’s speed settings to ensure they're functioning properly.
Inspect the attachments for signs of wear or damage. A bent or cracked attachment can cause havoc in your mixing endeavours. Lastly, test the electrical connections for continuity and power supply. A simple test with a multimeter can reveal whether power is reaching your mixer as it should.
Step 2: Disassembling Your KitchenAid Mixer for Repairs
With the diagnosis complete, it's time to disassemble your mixer. Start by removing the back cover, unscrewing the fastening bolts with your trusty screwdriver. This grants you access to the internal components.
Next, detach the control knobs to delve deeper into the mixer’s workings. Carefully separate the motor assembly from the casing, taking care to note the arrangement for reassembly. As you disassemble, organise all parts systematically. This will make the reassembly process a breeze, preventing any last-minute scrambles for missing screws or misplaced gears.
Step 3: Repairing or Replacing Faulty Components
Once disassembled, it's time for the nitty-gritty—repairing or replacing faulty components. If you've identified worn-out gears, replace them with new, compatible ones. A malfunctioning motor may need to be swapped out for a new one, particularly if it's beyond repair.
Secure any loose wires using appropriate connectors and insulators to prevent future electrical issues. Additionally, clean and lubricate moving parts to enhance performance. This not only improves efficiency but also prolongs the lifespan of your mixer, ensuring it continues to serve you well.
Step 4: Reassembling Your KitchenAid Mixer
With repairs complete, it's time to put your mixer back together. Begin by reattaching the motor assembly, ensuring all connections are secure. Align and fasten the control knobs back onto the mixer, restoring its user interface.
Secure the back cover with bolts, finalising the reassembly process. Before you call it a day, test the mixer to verify successful repairs. A quick run-through will confirm that everything is in working order, ready to tackle your next culinary challenge.
Replacing the Motor in Your KitchenAid Mixer
Sometimes, a motor replacement is the only way to revive your KitchenAid mixer. Let's explore the signs and steps involved in this process.
Signs that Your Mixer Motor Needs Replacement
Several indicators suggest that your mixer motor is on its last legs. A burning smell often signals motor malfunction—a telltale sign that something is amiss. Inconsistent or no power output suggests motor failure, as the appliance struggles to keep up with your demands.
Excessive noise during operation points to motor issues, disrupting the smooth hum you’re accustomed to. If you notice a visibly damaged motor casing, it's time to take action. Ignoring these signs could result in further damage, so don't delay in addressing motor problems.
Step-by-Step Instructions for Safely Installing a New Motor
Installing a new motor doesn't have to be rocket science. Start by disconnecting the mixer and removing the motor housing. This exposes the old motor, which you'll need to detach from its mounting brackets.
Carefully install the new motor, ensuring proper alignment and tight connections. Double-check your work before reassembling the mixer. Once everything is in place, test the appliance to confirm the successful installation of the motor. A smooth, quiet operation is your reward for a job well done.
Fixing a Jammed Attachment on Your KitchenAid Mixer
A jammed attachment can bring your baking plans to a screeching halt. Let's explore why it happens and how to fix it.
Reasons Why Attachments Get Jammed
Several factors can lead to a jammed attachment. Overloading the mixer is a common culprit, as excessive ingredients can overwhelm the appliance. Improper attachment installation is another reason, causing the components to misalign and jam.
Residue build-up from frequent use can impede attachment movement, making it hard for the mixer to spin freely. Lastly, mechanical wear and tear might result in dysfunction, especially if you've had your mixer for a while. Understanding these reasons can help you avoid future jams.
How to Safely Unjam and Restore Functionality to Your Attachment
To safely unjam an attachment, start by turning off and unplugging the mixer. This step is crucial to prevent accidental activation during the repair process. Gently wiggle the attachment to release it from its position, taking care not to apply excessive force that could cause damage.
Once free, clean the attachment and mixer hub to remove any build-up that might have caused the jam. Reinstall the attachment correctly, ensuring it's properly aligned. Test the mixer for smooth operation, ensuring your repair efforts have restored full functionality.
Tips for Maintaining Your KitchenAid Mixer
Prevention is better than cure, and maintaining your KitchenAid mixer can save you a lot of trouble down the road.
Best Practices for Extending the Lifespan of Your Appliance
To keep your mixer in top shape, engage in regular cleaning and lubrication of moving parts. This simple practice minimises wear and tear, ensuring smooth operation. Avoid overloading the mixer, as excessive strain can lead to motor issues.
Store the appliance in a dry and dust-free environment to prevent moisture and debris from causing damage. Scheduling periodic checks for mechanical and electrical components helps catch potential problems before they escalate.
Cleaning and Storage Tips for Your KitchenAid Mixer
After each use, wipe down the mixer with a damp cloth to remove any residue. Disassemble and clean attachments thoroughly, preventing build-up that could affect performance. Using a cover can protect the mixer from dust and debris.
Store the appliance in a stable position to avoid accidental damage. With these cleaning and storage tips, your KitchenAid mixer will be ready for action whenever you need it.
Why use Cattermole Group?
KitchenAid appliances are an integral part of any kitchen, providing convenience and efficiency in daily chores. However, like any other appliances, they are prone to wear and tear over time. Regular repairs and maintenance play a crucial role in ensuring the optimal performance and longevity of these appliances. Professional technicians have the knowledge and experience to accurately diagnose the problem with your KitchenAid appliance.
By addressing common issues promptly, and seeking professional repair services when needed, you can extend the lifespan of your KitchenAid appliance and avoid costly replacements. By relying on professionals, you can expect timely and efficient repairs, reducing downtime.
Based in the United Kingdom, The Cattermole Group are the UK's number one repair centre. We are able to offer various levels of services for KitchenAid products - these range from repair services (problem solving) through to call-out services and a range of spares and parts - all with differing price ranges. A professional service is provided every time.




Vat no: GB 276-314-790
Company Reg No: 10900492
Contact
Service Line: (+44) 01332 346550
Email: orders@cattermoleelectrical.co.uk
Accounts: accounts@cattermolegroup.co.uk
All Rights Reserved | Cattermole Group


